
( only).
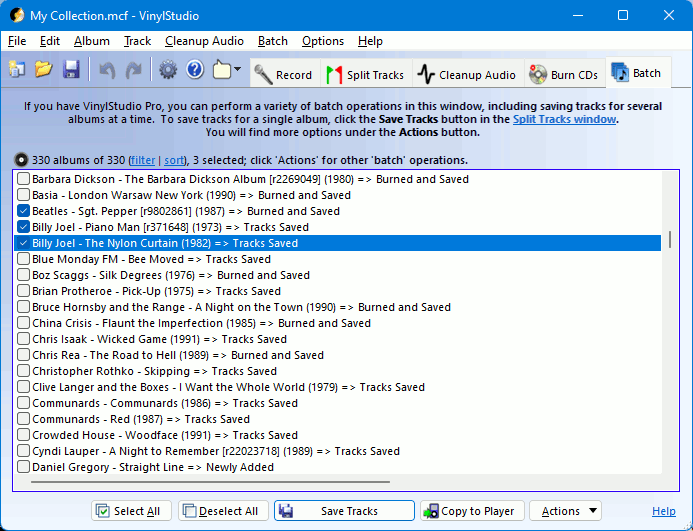
Clicking on the Batch tab will take you to the Batch window. In this window, you can:
can save tracks for several albums at a time. Select the albums you want to save and then click on the Save Tracks button. The process may take a while, although VinylStudio will skip any tracks that have been saved before (unless they have changed) if you ask it to.
For more information, please refer to the main Save Tracks topic (which you can also use in VinylStudio Standard).
Tip: to select several albums at once, click on the first (make sure it is ticked) and then shift-click on the last.
[ Top ]To copy tracks to an iPod, iPad or iPhone, use . You will need to save your tracks first as described above.
To copy tracks to (for example) an MP3 player or memory stick, first save them as described above. Then plug your MP3 player (or memory stick) into a USB port and click on the Copy to Player button. VinylStudio then displays the following dialog:
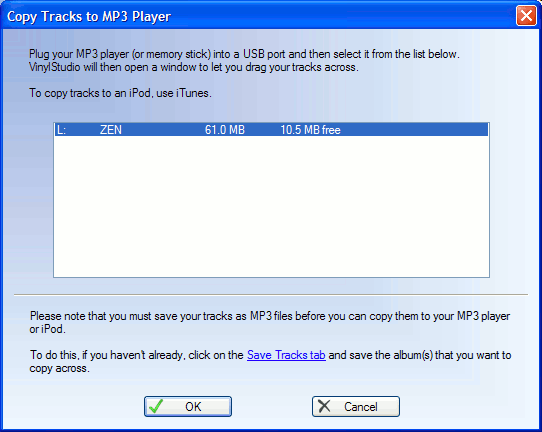
VinylStudio displays a list of drive letters which it thinks might be MP3 players or memory sticks. Select the one you want from the list and VinylStudio will then open two side-by-side, with your saved tracks on the left and your MP3 player on the right. You can then drag and drop files from one to the other in the usual way:

When dragging files across, be careful not to create too many folders on your MP3 player. Many players have a fairly low limit (10 or so) on the number of folders they can handle.
If you want to know how much space is left on your external device, right-click in an empty part of the right-hand pane and select Properties.
Please note that the Copy to Player function is not available in the App Store version of VinylStudio.
To copy tracks to an Android device, connect it to your computer via USB and enable 'using USB for file transfer' on the phone itself.
[ Top ]There are two approaches to this: you can either have VinylStudio generate playlists, one per album, or you can import the MP3 files you have generated into Media Player's library directly.
To create playlists, select the Create Playlists for Windows Media Player option from the File menu. VinylStudio will then generate a playlist for each album in your collection and store them in the following folder:
Music
    <Name of your collection>
            Playlists
(You can change this folder from the Settings dialog under the Options menu).
You can then open or import these playlists into Media Player in the usual way. They have the advantage of maintaining the identity of the albums in your collection.
To import your MP3 files directly into Media Player's library (which is the more common approach), click on Media Player's Library tab, and then on Add to Library. Alternatively, you can tell Media Player to monitor your Music folder. Then, all MP3 files that VinylStudio (or any other program) generates in that folder - or any folder below it - will be added to the library automatically. This is the default for Media Player 12 and later. To see what folders Media Player 12 is monitoring, click on Organise, and then Manage Libraries - Music.
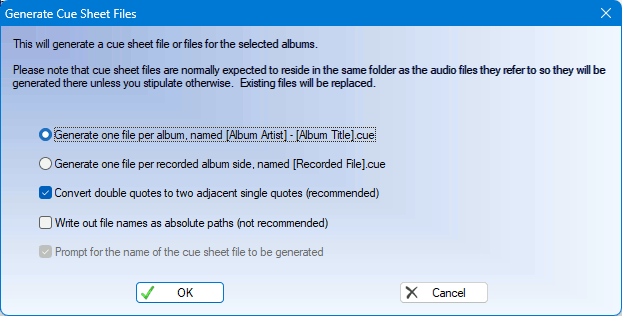
[ Top ]This will generate cue sheet files for each album selected in the list. These will be written to the same folder as the recorded files they refer to as that is the way cue sheets work. Any existing files will be overwritten.
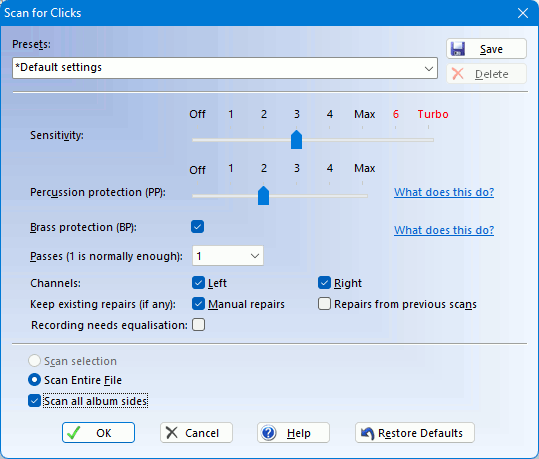
To declick some or all of your albums in a single operation, select the ones of interest in the list and then select Scan Selected Albums for Clicks from the menu under the Actions button. You will be prompted for the scan settings to be used and then VinylStudio will perform the scan. For more information on what the various scan settings do, please refer to the Scan for Clicks help topic. Each album side takes about 1 minute on a modern computer.
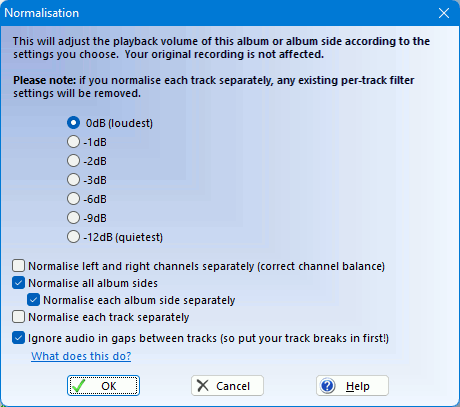
To normalise some or all of your albums in a single operation, select the ones of interest in the list and then select Normalise Selected Albums from the menu under the Actions button. You will be prompted for the volume level to be used and then VinylStudio will set to work with no further manual intervention required. Processing time varies depending on what filters you have selected for the albums in question. The Hiss filter is particularly CPU-intensive.
VinylStudio can copy the recordings for the selected albums so that, for example, you can save a cleaned up copy to export as a CUE sheet.
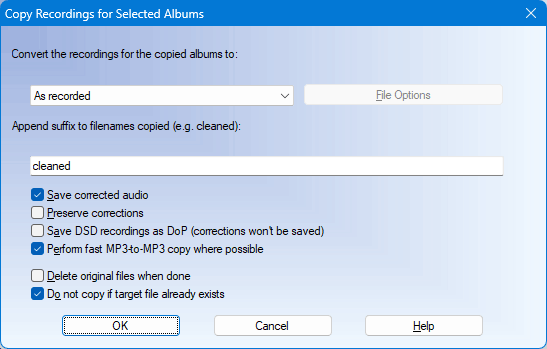
There are options to:
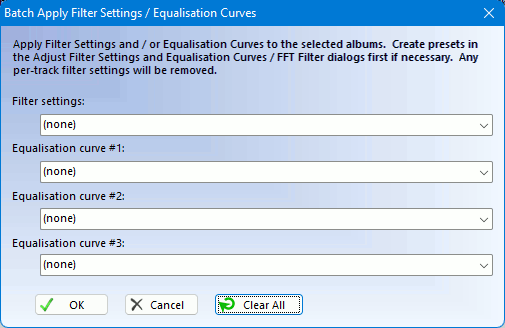
To apply filter settings or equalisation curves to multiple albums at a time, select them in the list and then select Apply Filter Settings and Equalisation Curves to Selected Albums from the menu under the Actions button. Then select what you want from the dialog that is then displayed.
To swap channels for multiple albums at a time, select them in the list and then select Swap Channels for Selected Albums from the menu under the Actions button. Changes will be applied when you save your tracks.
You can also swap channels for a single album or album side from the Album and Cleanup Audio menus respectively ( only).
[ Top ]To delete multiple albums at a time from your collection, select them in the list and then select Delete Selected Albums or Album Components from the menu under the Actions button.
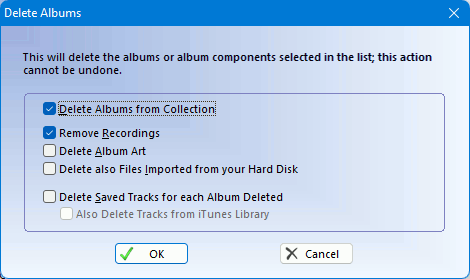
In addition to deleting the albums themselves, you can elect to just delete certain components, such as your 'raw' recordings, while retaining the albums in your collection as a reminder of what you have done. If you are exporting tracks to , there is some mileage in deleting the tracks saved by VinylStudio, as these are duplicates of the copies stored in the library.
If you have plenty of disk space, consider keeping your albums and recordings around. That way, you can always save your tracks again (if you need them in another format, for example).
[ Top ]You can use the album status to keep track of the stage you have reached working on a particular album or albums. To change the status of multiple albums at a time from your collection, select them in the list and then select Set Status of Selected Albums from the menu under the Actions button.
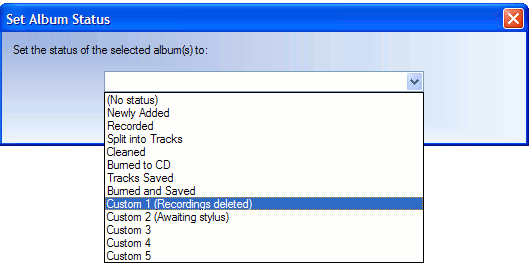
VinylStudio supports upto 5 'custom' status settings which you can use for whatever purpose you choose. You can give these names of your own by selecting 'Set Custom Album Status Names' from the Options menu.
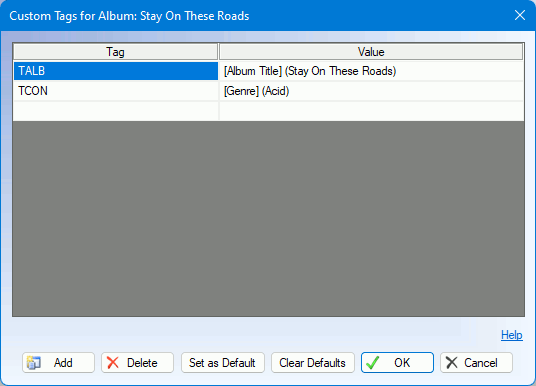
[ Top ]This will display the Custom Tags editor, where you can enter custom tags and values to be applied to the albums selected in the list. Any existing custom tags will be replaced.
This option can be used to merge two or more collections. To move albums from collection A to collection B, proceed as follows:
VinylStudio will then take care of the rest.
Options available at step 5 are:
Generally, moving albums is what you want.
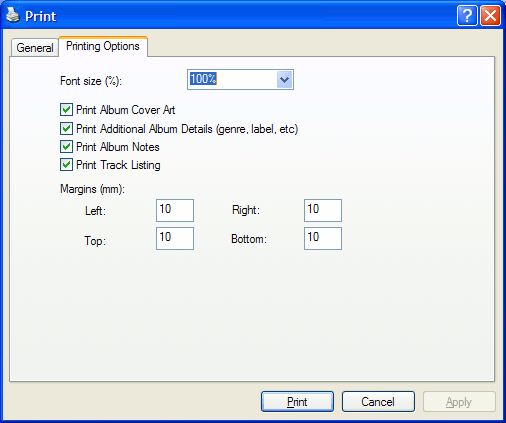
[ Top ]To print part or all of your collection, select the desired albums in the list (or use 'Select All') and then select Print Selected Albums from the menu under the Actions button. You can control exactly what is printed in the 'Printing Options' tabsection.
To export part or all of your collection to a file, select the desired albums in the list (or use 'Select All') and then select Export Selected Albums from the menu under the Actions button. You can export albums in CSV format, RTF format, or as a text file. Only metadata (e.g. album and track titles) is exported and not the audio itself.
[ Top ]